Windows 98 SE Setup Part 1 - Installation
There's an elaborate setup that I use whenever I am starting fresh on my KT133A based machines, on which I will be using Windows 98 Second Edition.

There's an elaborate setup that I use whenever I am starting fresh on my KT133A based machines, on which I will be using Windows 98 Second Edition.
There will be many, many images in this post. The pixel ratio will appear to change, but that's because I'm using a direct VGA capture and the output is not being stretched to the visible aspect ratio (4:3).
I start by inserting the Windows 98 SE boot floppy and the Windows 98 SE install CD. Both of these are necessary for my setup.
I'm not using the motherboard IDE ports in my machines due in large part to the lack of physical access - graphics cards and sound cards and the like tend to cover them up. Because the system cannot boot from CD-ROM with this kind of setup, I have to use both the floppy and the CD.
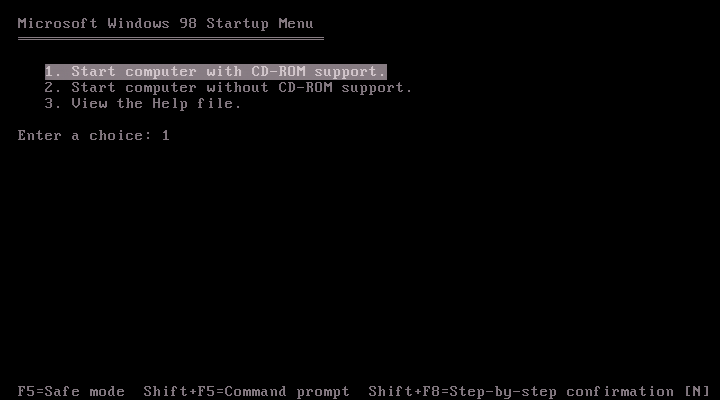
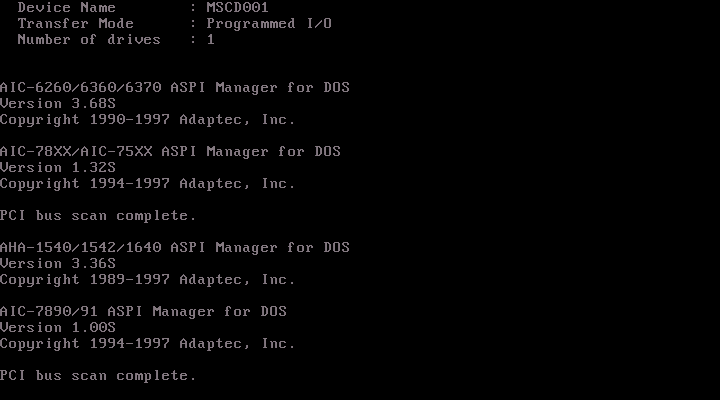
After booting the system and selecting CD-ROM support, there are some other programs that run. I'm not sure I understand all of them.
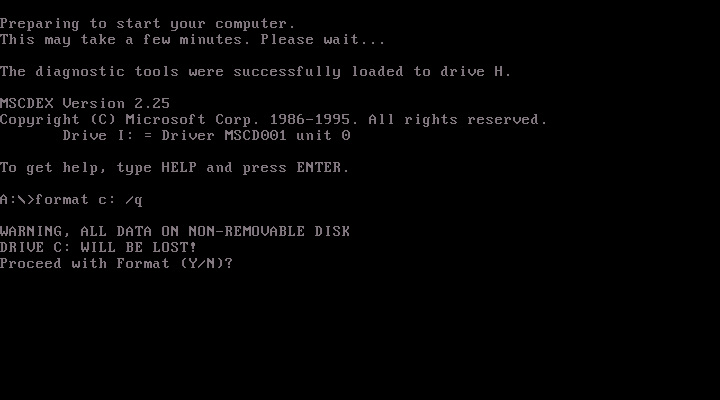
Once the initial boot sequence is complete, I am greeted with a familiar prompt: A:\>. My first step is to format the C: drive.
(If this is a completely fresh setup, with new storage media and everything, I would configure partitions using some partition software I have on my main computer. The important part in my setup is to have a FAT16 partition with a maximum size of 2GB on C: and the other drives can be FAT32, all maximum 4GB in size before some basic functionality starts failing in pure DOS such as corrupted writes.)
After formatting the primary drive, I am told everything was successful and there are no bad sectors. Excellent.
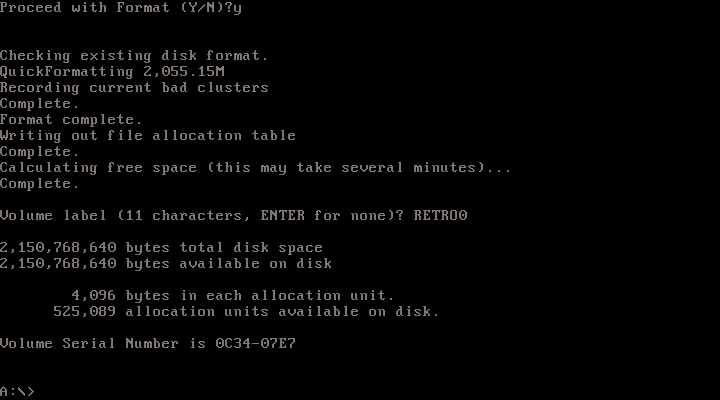
Now, I'm ready to install Windows 98 SE. I run these commands to go to the CD-ROM drive and start installing things:
H:
setup /is /nm
The /is switch disables Scandisk and the /nm switch disables checking hardware to make sure requirements are met. As I have a sufficiently powerful machine that the developers could not have accounted for when this software was made, sometimes the requirement checks fail and I am prevented from installing Windows as a result.
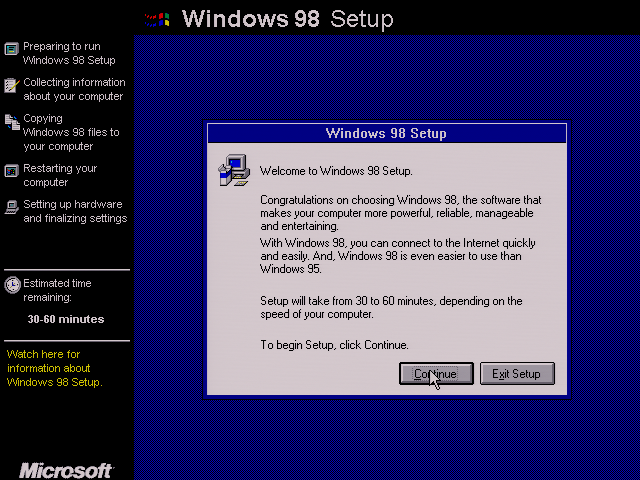
After starting setup, a recognizable graphics interface greets me. I click Continue to move past the introduction.
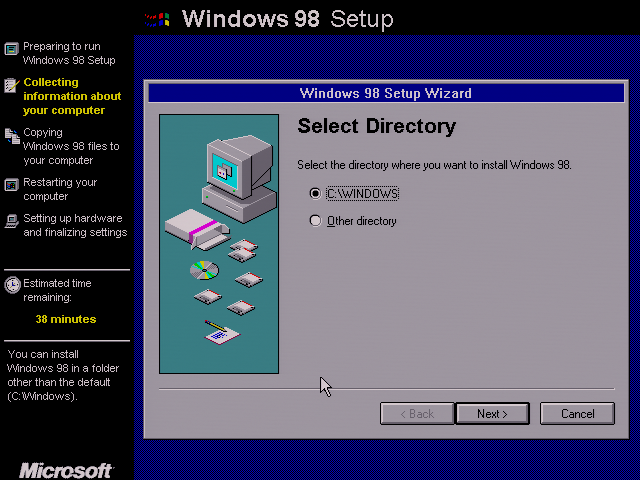
Setup then asks me where I would like to put Windows. The default directory will work great, and some flaky software will fail if I choose to put it anywhere else. That makes this the only practical option anyway.
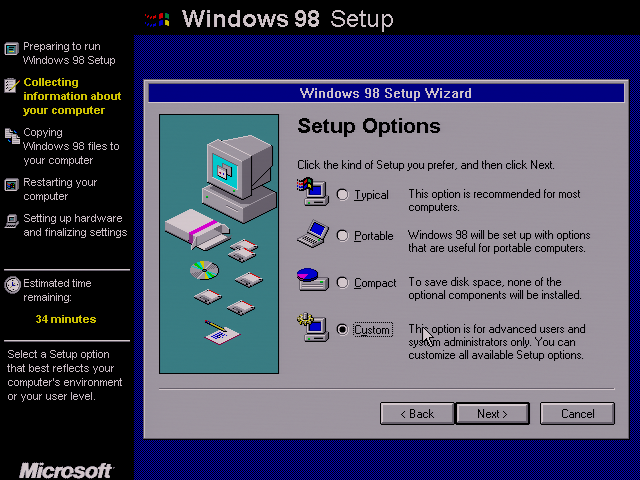
After determining where Windows will live, Setup asks me what components I would like to also install. I always choose the Custom option here.
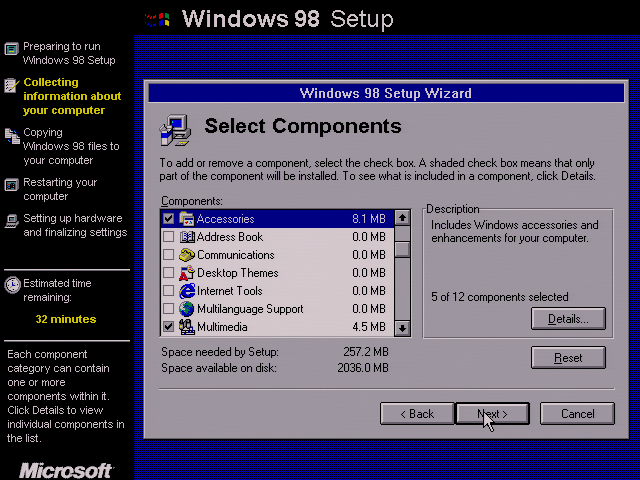
Because I have a specific use for these machines - specifically, retro gaming - I disable all but the Accessories and Multimedia options. The former is just helpful and the latter contains some audio and video codecs that are required by a lot of multimedia rich games of the era. Things break when you don't have them.
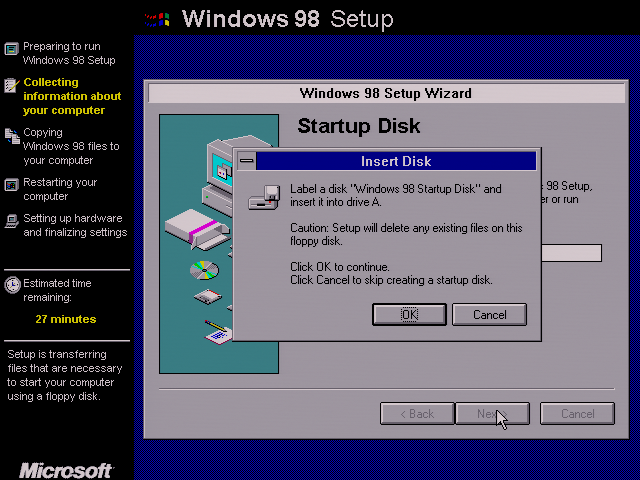
Setup asks me if I'd like to create a startup disk. I decline. It's very helpful for the typical user, but if I'm having trouble getting into Windows, I will most likely just use the boot floppy for the installer. It automatically installs useful utilities and CD-ROM support out of the box.
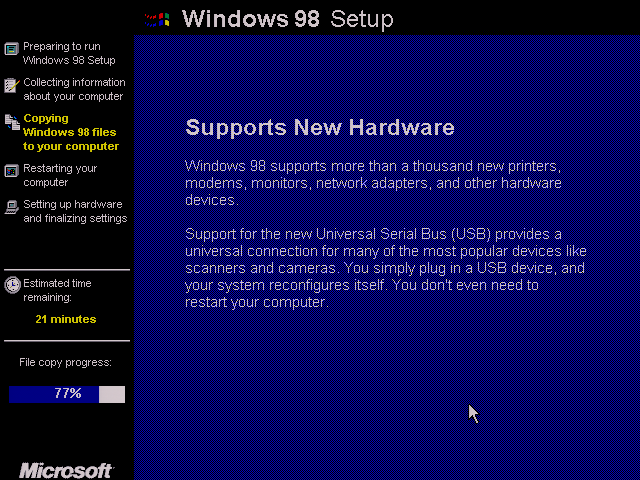
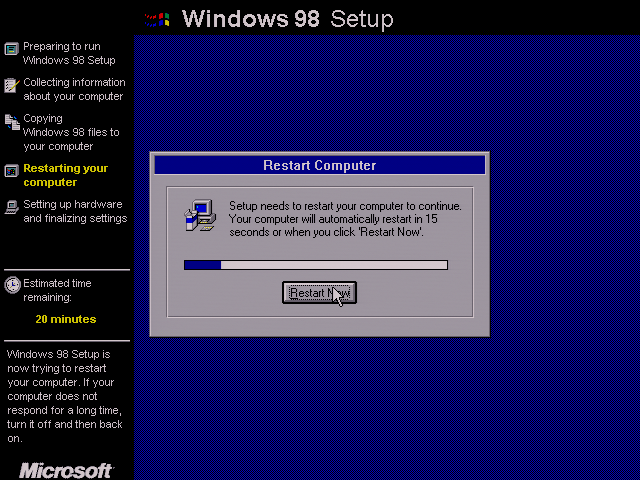
The majority of Windows files are copied after selecting which parts I'd like. After a couple minutes of copying files and flashing enticing messages on screen, I'm told the computer needs to be restarted. I remove the floppy disk at this time and click Restart Now.
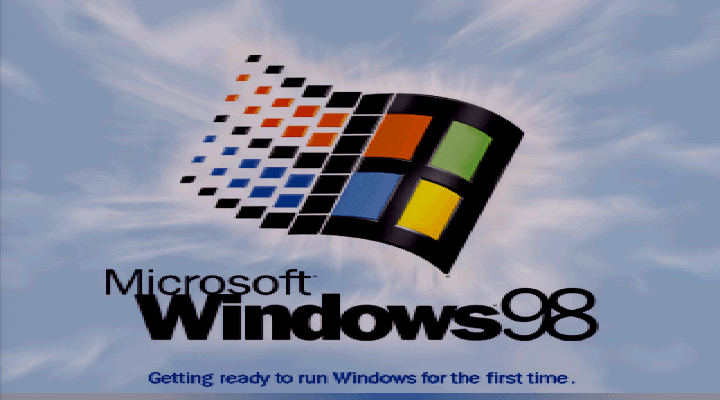
After restarting my computer, Windows boots right from the hard drive. It tells me it's getting ready to run Windows for the first time.
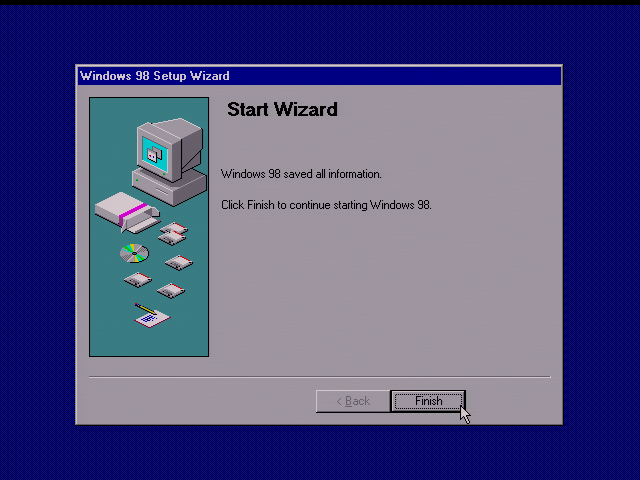
Now that Windows is booting from the hard drive, Setup asks me to put my name in, read the license agreement legalese, and put in my product key. Once I've filled in all this information, I'm told that all the information is saved.
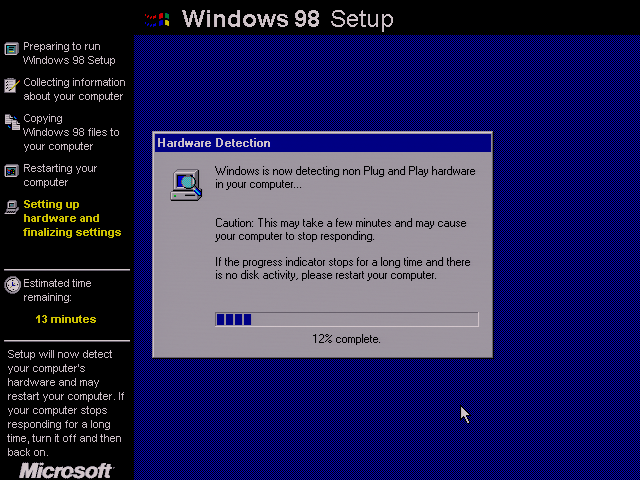
Windows then begins to scan my system for all the hardware that's in it. First, it looks for all the "Plug and Play" hardware, which is easy to identify. But some of the hardware in this system was created before that was standardized, and Microsoft knew this was going to be a frequent occurrence during installation. So it also scans for other hardware it might recognize, even if it doesn't adhere to PnP.
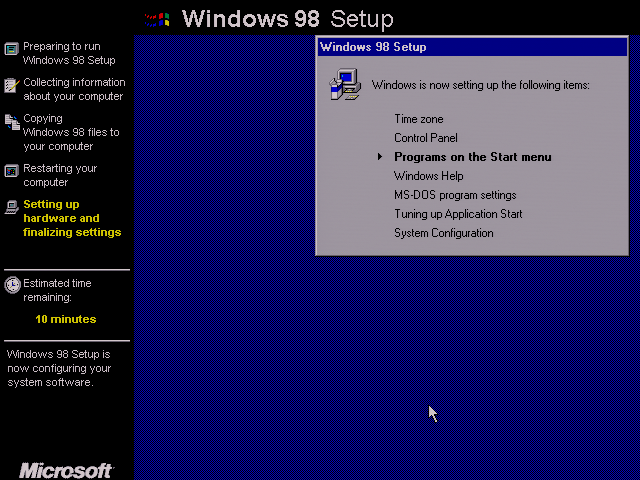
After scanning for hardware and restarting my machine twice, Setup determines it has all the drivers installed that it needs. Now, it wants to do the more personalized stuff. Local date/time, shortcuts for the applications I've chosen to install, that kind of thing.
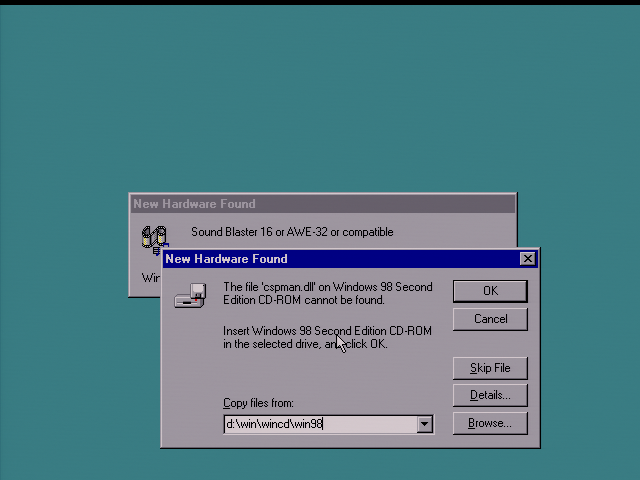
Finally, Windows is ready to get out of Setup and into the operating system itself. It immediately discovers some hardware that it was not prepared to handle yet. It demands to access the CD-ROM drive. This is a problem; the CD-ROM driver hasn't been installed.
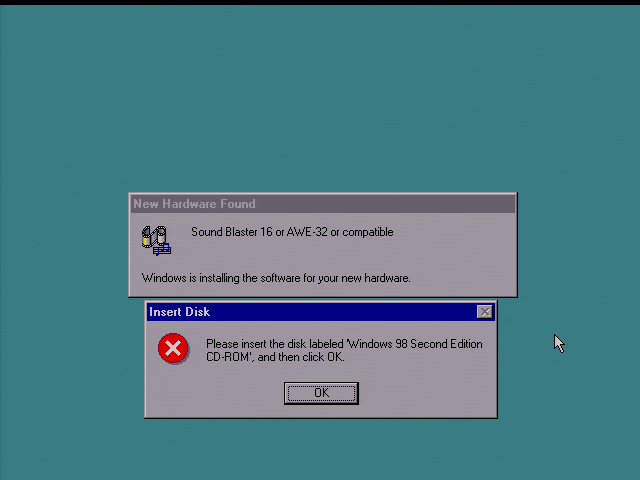
Luckily, I have the entirety of the Windows 98 disc stored on another partition of the hard drive.
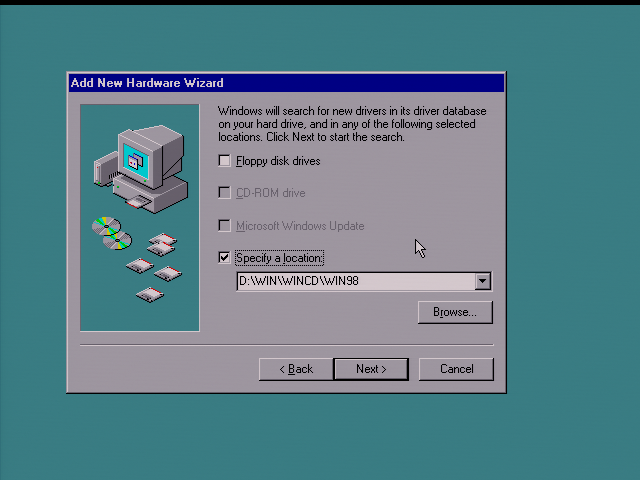
Sometimes, it will ask me again where I would like to look for drivers. I give it the same Windows CD backup path as above.
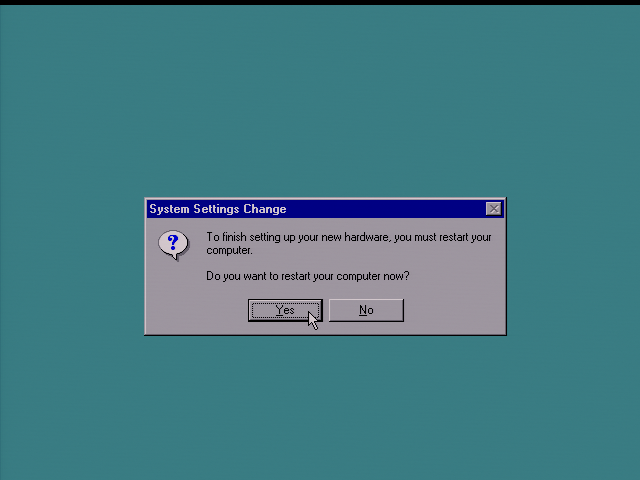
Windows will finally get through the list of hardware it needs drivers for and ask if I'd like to restart. I will only restart if the "System Settings Change" is the only window on the screen. This means I will get to install all my drivers in one go before restarting.
Finally, after one more reboot... we're in! I am greeted by a fancy "Welcome to Windows 98" application. The graphics slide in, animate and everything. Fancy, but I'm not out of the woods yet. I have a lot more to install before this is a usable system.
I always uncheck "Show this screen each time". Without graphics drivers installed, the animation is sluggish.

I'll cover the driver installation in Part 2. Stay tuned...